Setting up an Apache Web Server on AWS Cloud
Welcome to my DevOps blog! My name is PAWAN JD BHAGAT, and I am a passionate DevOps Engineer with 6+ years of experience in the field. I created this blog to share my knowledge, experience, and insights on all things related to DevOps.
In this blog, you'll find a variety of content related to DevOps practices, tools, methodologies, and techniques. I'll cover everything from continuous integration and delivery, cloud computing, automation, and infrastructure as code, to monitoring and logging, security, and more. Whether you're a beginner or an experienced DevOps professional, you'll find valuable information and resources here.
I believe that DevOps is not just a set of practices or tools, but a mindset and culture that fosters collaboration, communication, and continuous improvement. Through my blog, I aim to promote this mindset and help organizations and individuals to adopt and implement DevOps practices in their work.
I encourage you to join the DevOps community and engage with me and other readers through comments and discussions. Let's share our experiences, learn from each other, and contribute to the growth of the DevOps community.
Thank you for visiting my blog, and I hope you find it useful and informative.
Web Server: -
The place where we can access the website or the place where a web application or website is present, that server is called a Web Server.
On the web server, there are present websites that have multiple pages for different purposes.
The collection of web pages is called a website.
Website and Web application are both are same
Here, we are going to run a web application on the Linux Server
Step 1:-
Creating Linux EC2 Instance on AWS Cloud
https://hashnode.com/post/cleipnprn000n09l02dvp28xe
refer above article to create a Linux EC2 instance
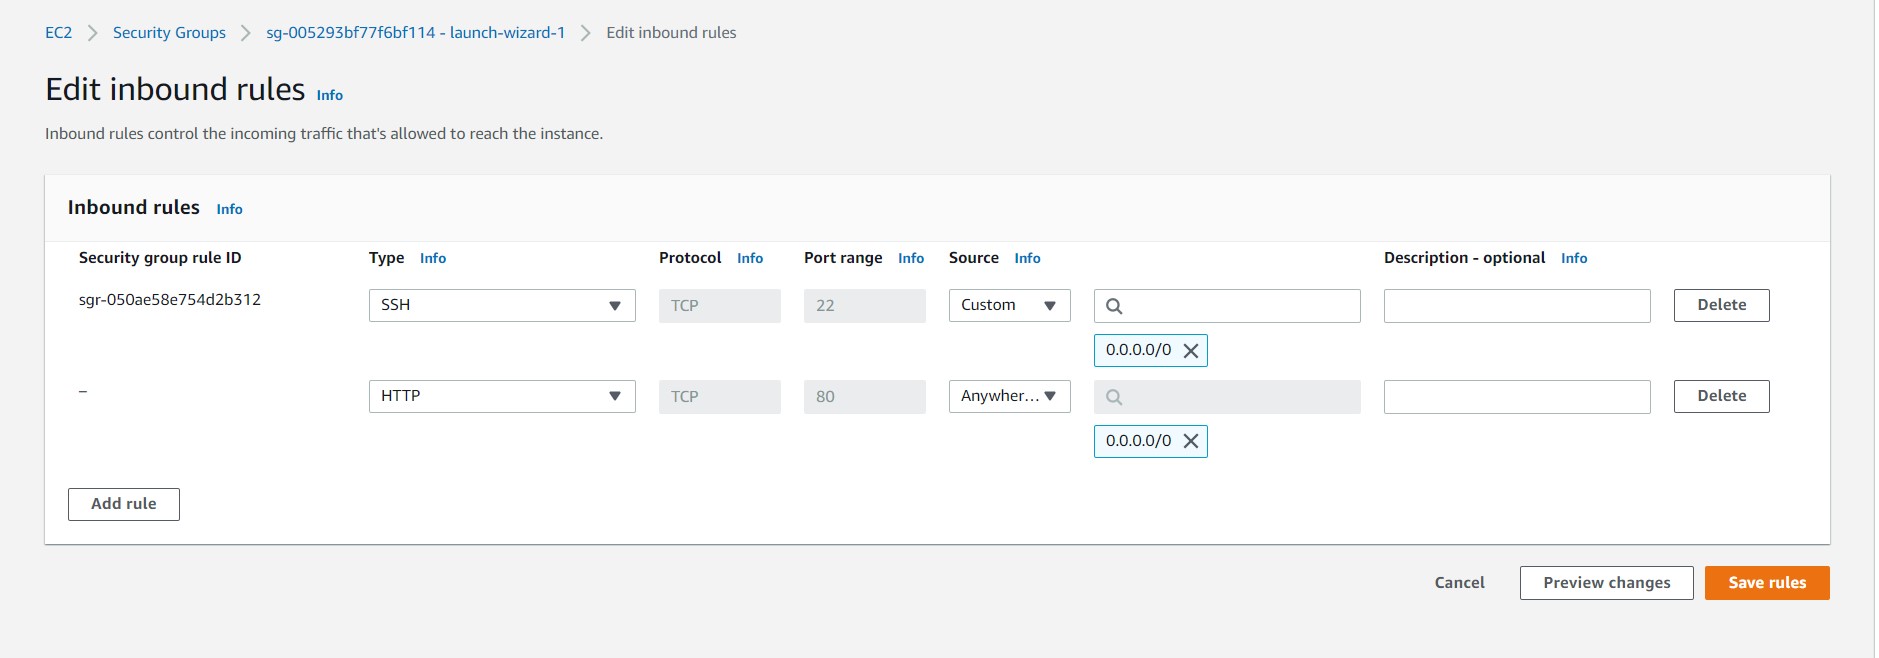
Configure Security Group
For accessing the EC2 instance ssh port 22 is responsible
For accessing the website HTTP port 80 is responsible
By default, during the creation of an EC2 instance ssh should be added to a security group
We have to add HTTP port 80 separately to access our website
Once the Linux EC2 instance is created successfully and the Security group then accesses the instance through any of the methods which are in the below article
https://hashnode.com/post/cles9corf001j3mnv90ay8kau
Before that, we will see the different web server products available in market
Choosing a Web Server Software
To make this server a webserver we have to install the web server software on it
There is different web server software available in market
Apache
Tomcat
NGINX
LiteSpeed
CentOS Stream
Caddy
Lighttpd
Microsoft IIS
We are installing Apache Web Server Software to manage our website
About Apache
With 31.5 percent of all known domains using it, Apache is the second most common web server software. It is an open-source initiative that runs on multiple operating systems, including Windows and Linux, and employs the HTTP interface.
The capacity to be customized is one of Apache's finest qualities. You can modify the various components that make up this server program to handle various requests. Plus, Apache has a vibrant developer group and offers a number of computer languages. Because it also allows PHP, it is a well-liked web server among WordPress users.
However, bear in mind that Apache may have trouble with very busy websites. Additionally, it needs regular updates to run properly and safely.
Key Features for Apache:
IPv6
Session tracking
FTP and HTTP/2
Customizable modules
Apache is for you if…
You’re a beginner.
You’re looking for open-source and customizable server software.
You run a low to medium-traffic WordPress site.
Apache Pricing: Free
Apache might be a good choice to take into account if you're searching for one that is user-friendly and adaptable.
NGINX, on the other hand, is fantastic for heavily trafficked web pages with high-speed requirements.
Microsoft IIS can also be suitable if you focus on development using Windows.
Step 2:- Installing a web server software (APACHE) on a Linux EC2 instance
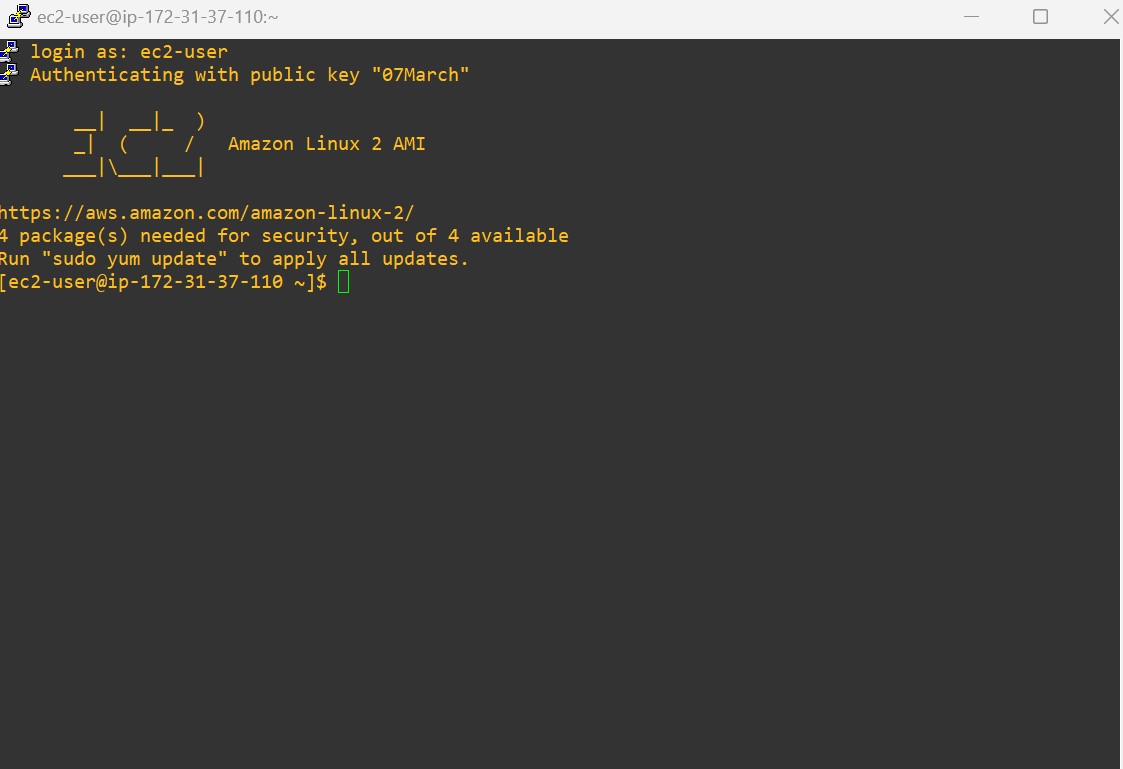
Open the instance through the terminal
Login as: ec2-user
- Switch to root user
#sudo su -

- Update the packages
#yum update -y
-y:- Noninteractive mode (No need to give the confirmation to install the packages)

To install Apache on a Linux server we have to install its package
The package name for Apache is httpd in the Linux environment
- Before installing, first, verifying httpd package is available in the repository or not
#yum info httpd

It's showing that the httpd package is available
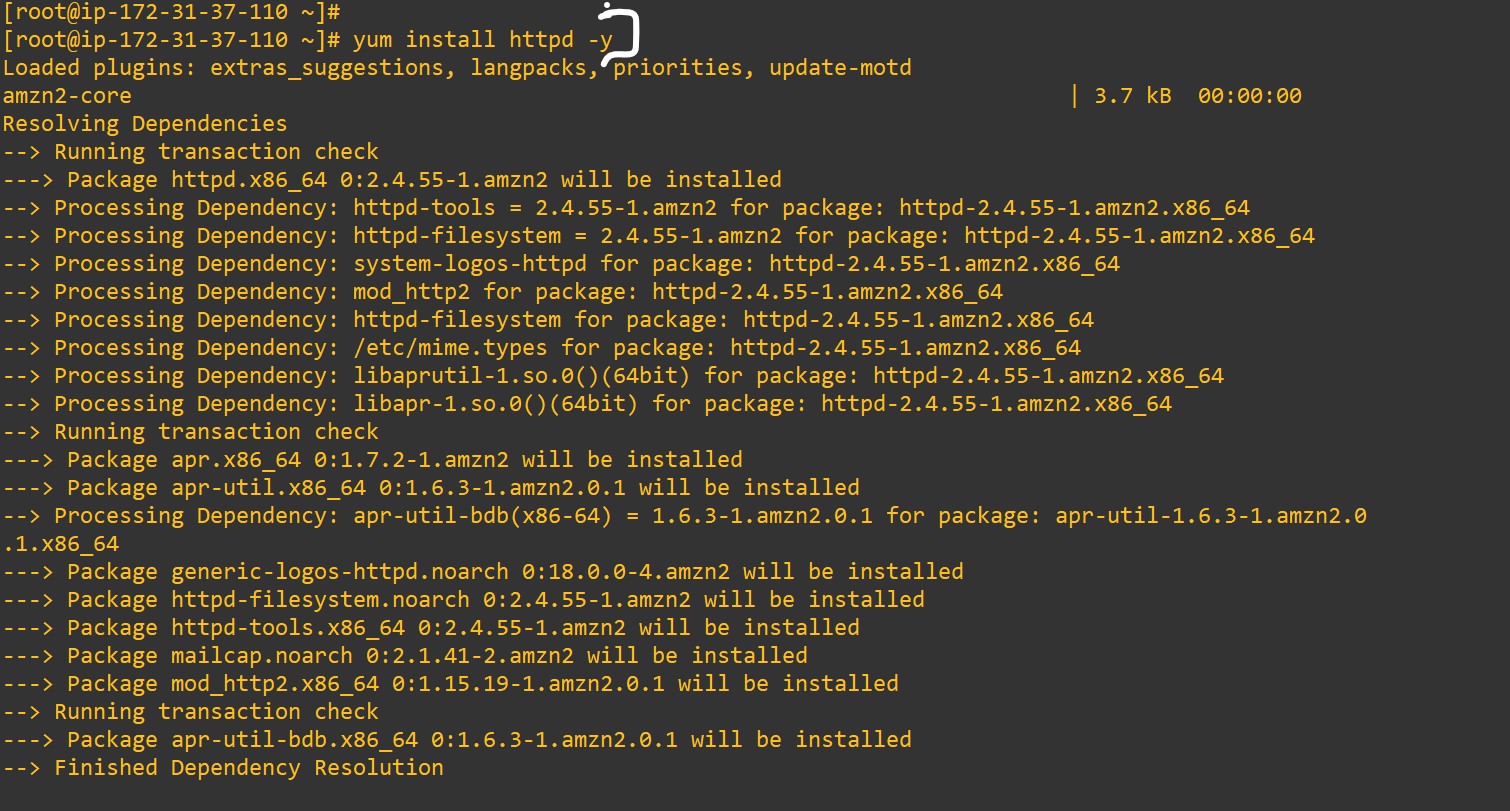
- Now, Installing the httpd package (Apache)
#yum install httpd -y
- After finishing, verify that the package is installed or not
#yum info httpd
Note:- in repo section its showing installed

- Display the status of apache service
#systemctl status httpd
or
#systemctl is-active httpd

Here, it showing the service is in an inactive state
- Starting the apache service (httpd)
#systemctl start httpd
Verify its running or not
#systemctl status httpd
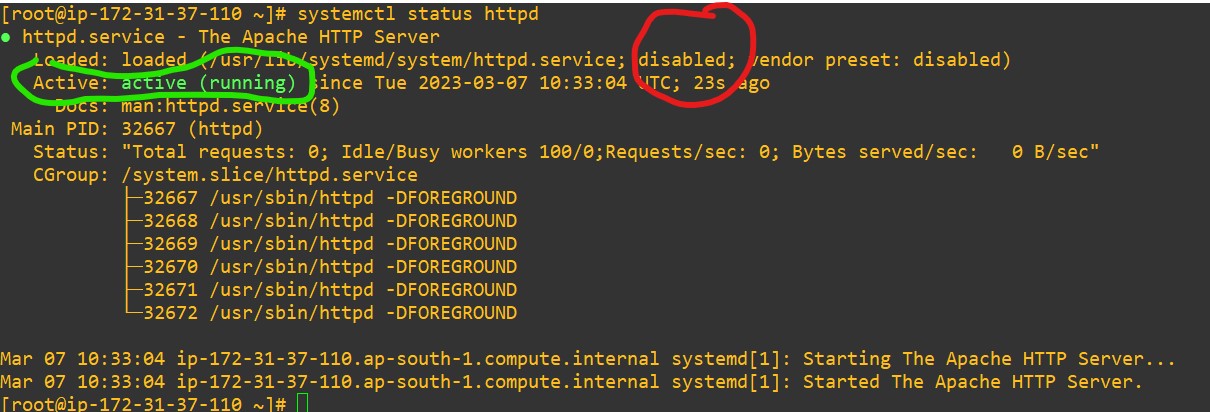
in the Active tab it's showing active (running) means the service is in a running state
Note:- By default, the server configuration is disabled due to that whenever the system is re-started we have to manually start the httpd service
TO AVOID THIS
#systemctl enable httpd
Once the above command is executed, even after re-started the Linux EC2 instance don't need to manually start the httpd service it will automatically be started.
Verify:
#systemctl status httpd
or
#systemctl is-enabled httpd

Once all the configuration steps are done.
The directory where website is stored which is created on below path
/var/www/html
in html directory index.html file is responsible to display our web pages.
we have to put all related web files and index.html files in above location
For testing purpose I just created one dummy index.html file in /var/www/html directory
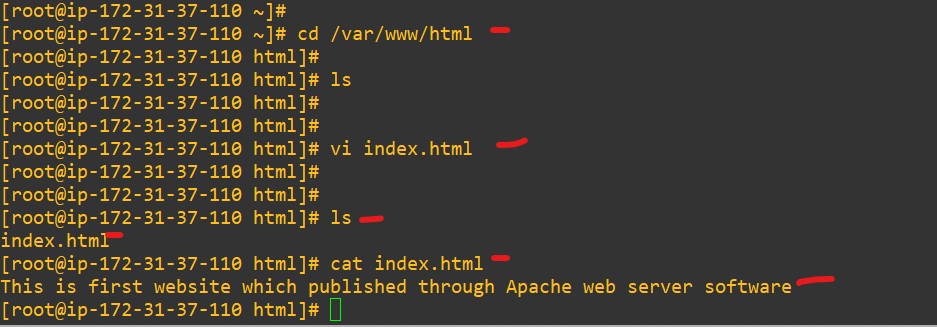
Go to the directory
#cd /var/www/html
#vi index.html
in this write anything you want
esc+shift+i ( is used insert in write mode in vi editor)
Once the information is put in then save and exit using below
esc+shift+:wq
After copy or creation of index.html file or folder , its compulsory to restart or reload the service
Restart the Service OR Reload the service
#systemctl restart httpd
Note:- once service the restarted the downtime has happened until the service is started
#systemctl reload httpd
Note:- Here. NO downtime and the service is running it just updated the new content on the web server)
Congratulation we can successfully installed and configured the apache webserver on Linux EC2 instance
Step 3:- Verify on the browser
Go to the Linux EC2 instance and copy the public IP address and open open it on any browser

Copy any public IP address and paste it into the browser

The above output verifies that we can successfully deploy our website on the server through Apache


